

Access the Azure Resource Manager Virtual Machine resources using ARM APIs (Part 1)


In the last post, I explained how we can access the classic Azure Virtual Machines using Azure Service Management (ASM) APIs.
In this post, we'll see how we can access the new Azure Resource Manager (ARM) based Virtual Machines. This is also the recommended deployment model by Microsoft moving forward, with indications that the older Classic deployment model would be deprecated shortly.
The documentation for the new ARM-based APIs continues to be at the Azure reference link as mentioned in the last post.
In case you need a basic understanding of the difference between the Azure Service Management deployment model and Azure Resource Manager deployment models then refer to my earlier post.
Step 1: Deploy a Resource VM in Azure
For the sake of this post, I'll assume that you already have an Azure account and have deployed a resource VM (Virtual Machine based on the Resource Manager deployment model).
You would need to use the new azure portal to deploy the resource VM. This resource VM would be part of a Resource Group.
Now unlike, the classic VMs whereby a client certificate needs to be generated for user identity and authentication, for the ARM model, Azure Active Directory (AAD) is used for authentication and Role-based access control (RBAC).
I have created a resource virtual machine called SK-AVLSC1 in my azure account. Notice that this is part of a resource group called SKGroup.

Once done, the next step would require configuring the Azure Active Directory (AAD).
Step 2: Configuring the Azure Active Directory (AAD)
The Azure Active Directory (AAD) is currently available only in the classic Azure portal. If you are using the new Azure portal you can open the AAD as follows...
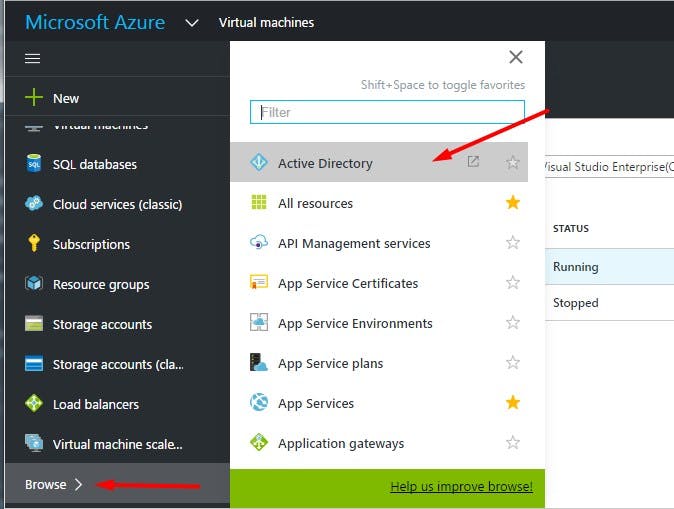
This will take you to the classic Azure portal as AAD is not yet supported on the new portal at present. If you are using the classic portal, you can open AAD as follows...
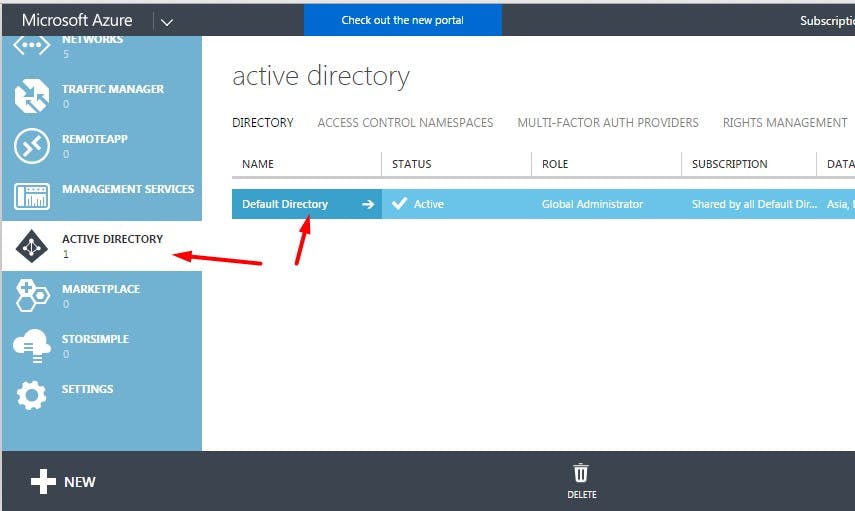
You may choose to create a new instance of AAD or use the default instance. I'll be using the default AAD instance.
Configuring the AAD is a 3-step process
a. Create a user in AAD
b. Assign role-based access to the new user
c. Register your client application with AAD
Step 2.a: Create a user in AAD
Click on the AAD instance and you'll find the following screen...
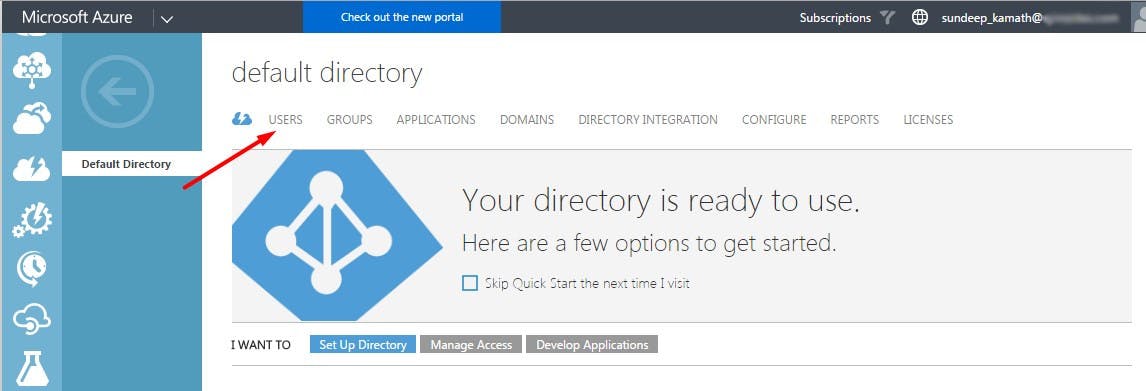
Click on the Users tab. This will show the list of all the existing users. (I have blurred the user data here for privacy/security reasons). Click on the ADD USER option towards the bottom of the screen.

This will open up a wizard as follows...
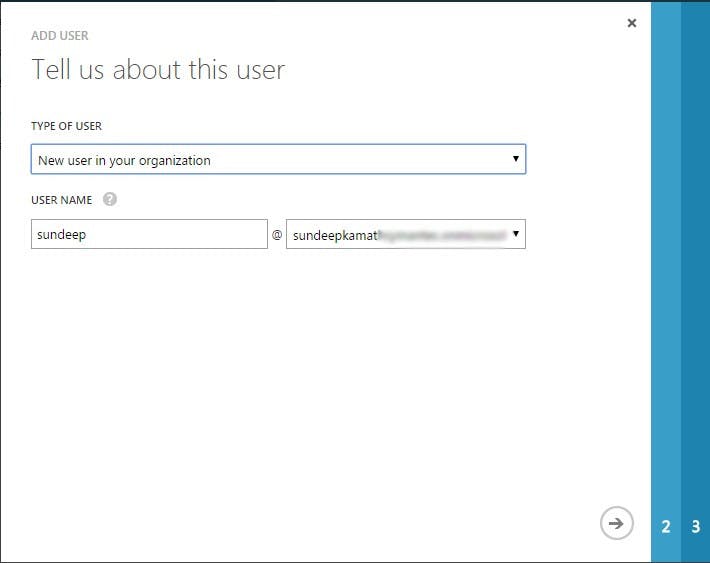
As shown, select the New user in your organization option, give a user name and click on the next arrow.

Provide the first name, last name details of the user and provide the least privileged role of User to this user. Later on, I'll show you how ARM provides a way to configure access control at a granular level on the Azure virtual machines. Click on the next arrow.
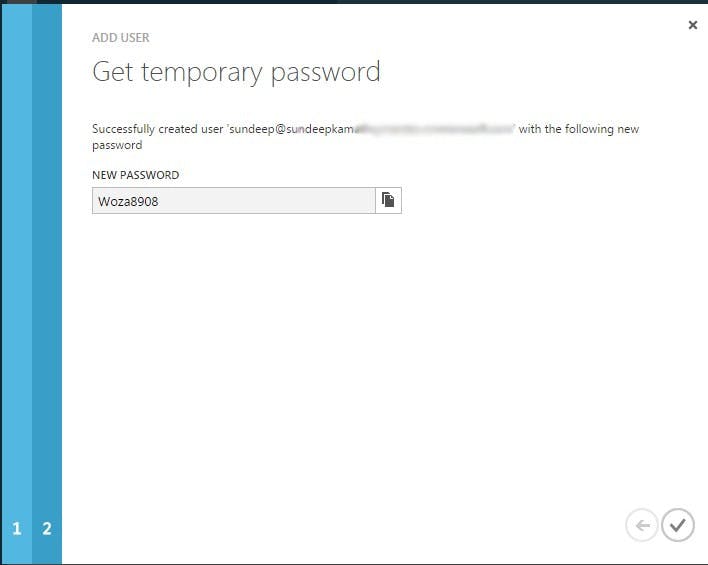
Copy this password, log out from the azure portal and then re-login in the context of this newly created user. You'll have to provide a temporary password. At this time it will ask you to provide a new password.
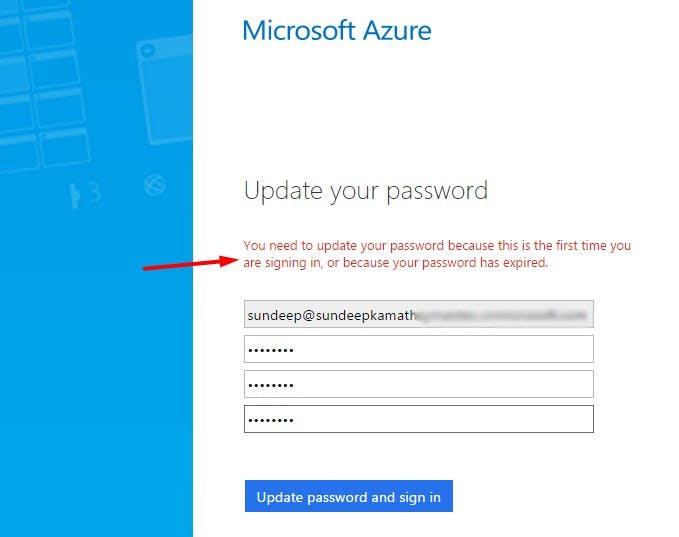
Add this new password and log in. It will show a screen as follows...
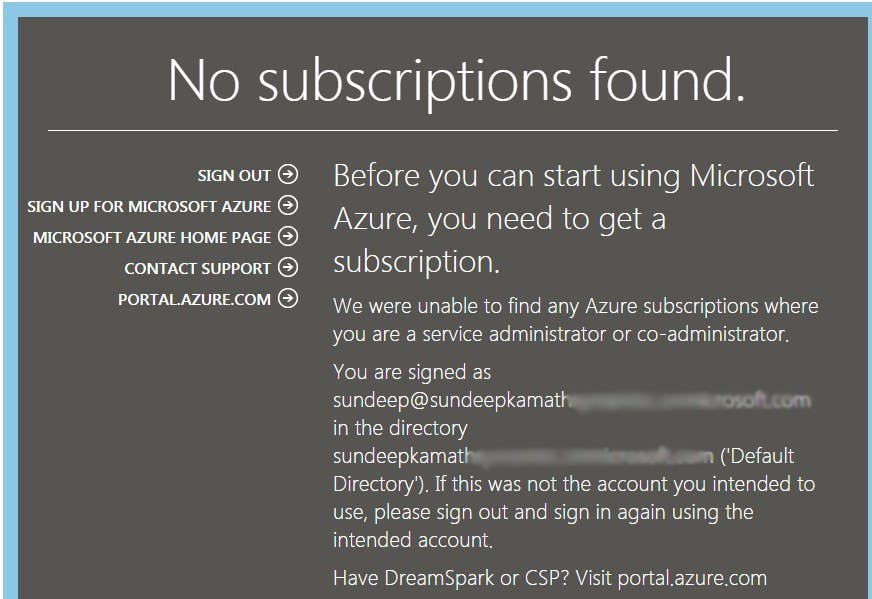
This is because we have created a user with minimal privileges (remember the user role assigned while creating the user) but are yet to assign it rights to view/modify any resources in Azure.
Step 2.b: Assign role-based access to the new user
We'll now have to authorize this newly created user. Azure provides several roles out of the box like Reader, Owner etc. In our case, we need minimal rights for the user, just enough to fetch details of a virtual machine. So we will go ahead and assign Reader role to our user at the Azure subscription level.
Note: Roles can be assigned at various levels including subscription, resource group, virtual machine level etc. Roles assigned at the subscription level will also be applied to all resources under it. This holds equally true for resource groups.
To apply the role at the subscription level we'll have to go to the Subscriptions section on the Azure portal.
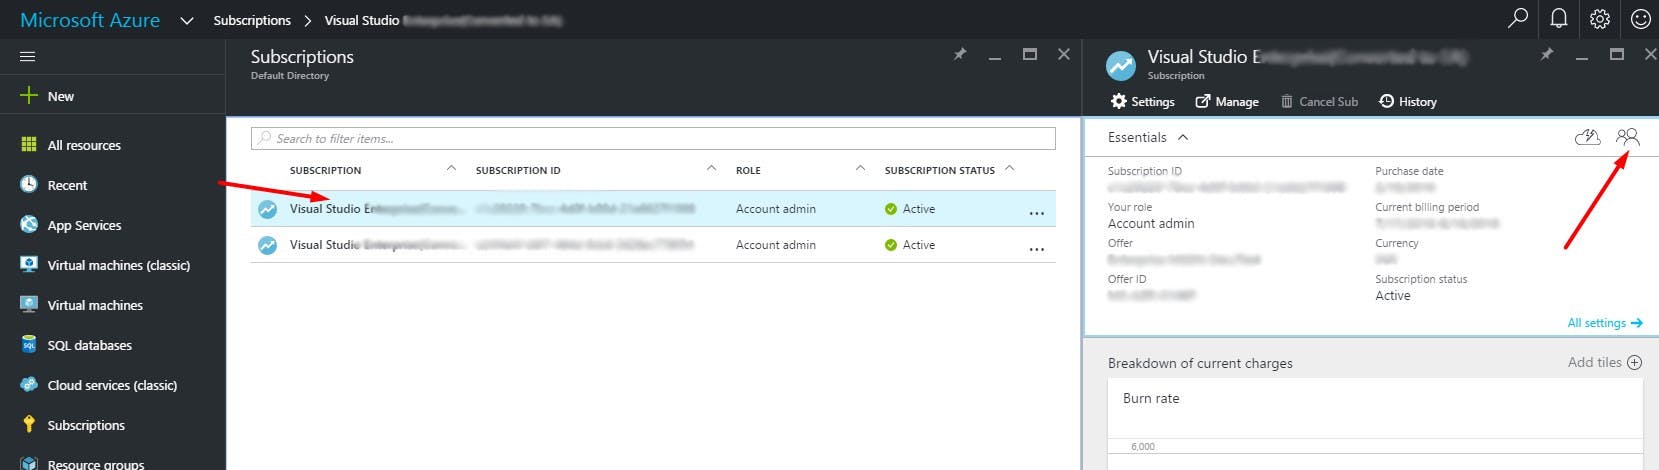
As shown, select the subscription in which your virtual machine has been deployed and click on the Access icon as shown in the above screenshot. This will bring up the following screen...
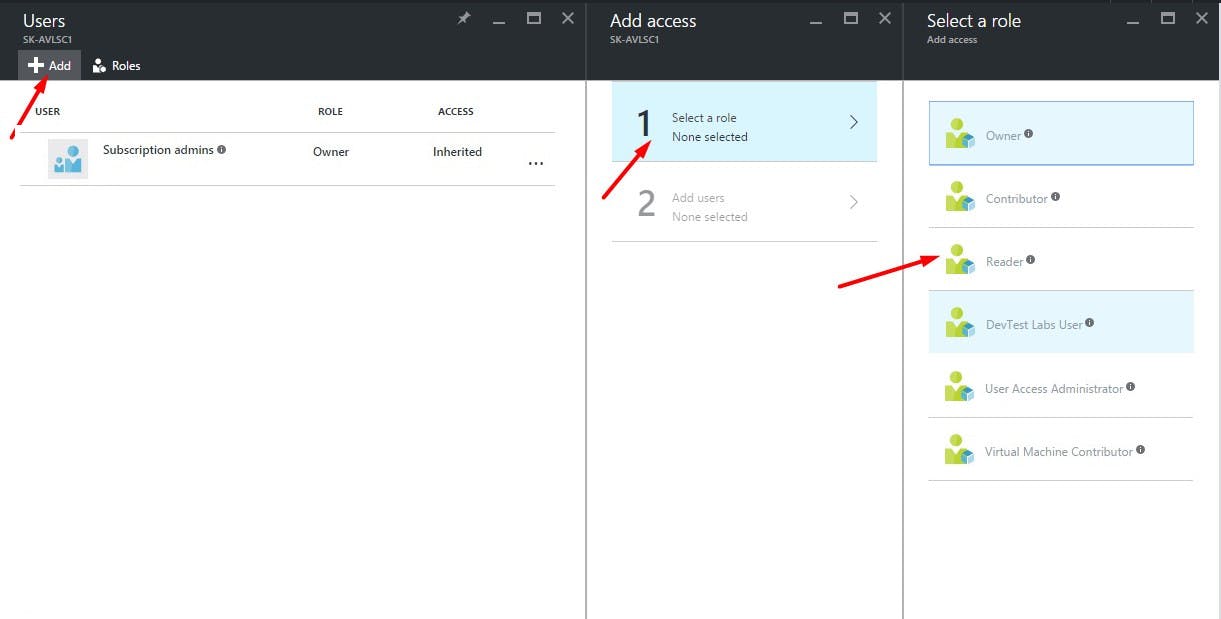
As shown select the role to be applied ... in this case Reader role. Thereafter, select the newly created user as follows...
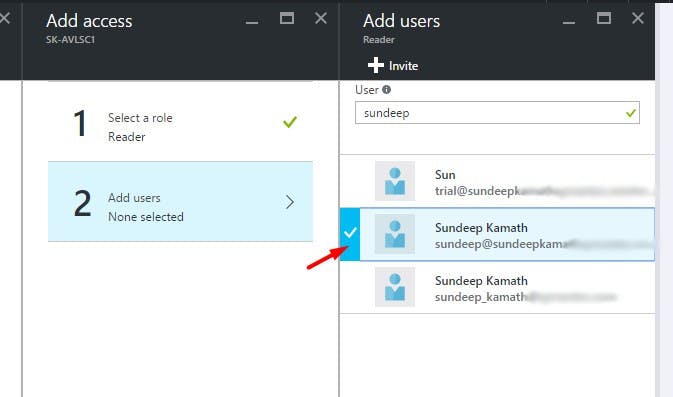
Click on the select button at the bottom and with this, we have now authorized our newly created user to access all resources under this subscription with the Reader role.
You can now verify this by signing out from the portal and signing in again in the context of this newly created user. This time around you'll be able to view all the resources for which the user was authorized.
In the next part of this series, we'll look at how we can create an application to access these ARM APIs with our newly created AAD user and also register this application with AAD.
Hope this was useful!