


In my earlier post, we saw how we can get a basic React Native app up and running in minutes and target both ios and Android platforms using the same code. In this post, we'll see how easy it is to extend this to support Universal Windows App (UWP) in Windows 10. By the end of this post, you'll appreciate how easy React Native makes it to have a single code base and target three different platforms.
For the most part, the steps would be similar to the earlier post. However, there is a slight difference. Instead of using create-react-native-app command line utility, we'll directly use react-native cli utility. If you have already created a react native app using the create-react-native-app utility, you might want to eject using the steps mentioned here. This is because we'll have to install React Native Windows at some point and at the time of writing it does not support Expo.
With this background, let's walk through the steps to create a React Native app and host it in Universal Windows Platform (UWP) on Windows 10.
Steps to create a React Native application
1. Install the latest version of Node.js
Install Node.js from here. I would recommend you install the latest LTS version.
Verify node is installed using
  C:\Users\sundeep>node -v
  v8.11.4
2. Install the Command Line Utility
Install the
react-native-clicommand line utilitynpm install -g react-native-cli
3. Create our React Native app
We can now create our React Native app using the command line utility as
react-native init HelloWorld --version react-native@0.55.4
Once the project is created successfully, cd into the project HelloWorld.
Note: Specifying the react-native version is not mandatory. I have specified it as there was a compatibility issue with v0.56 at the time of writing.
Steps to host the React Native application in UWP
1. Install React Native Windows CLI
Install the React Native Windows CLI using npm.
npm install --save-dev rnpm-plugin-windows
2. Initialize React Native Windows Project
Use the
react-nativeCLI installed in the earlier step to initialize the React Native Windows project.react-native windows
This will create a folder with the name windows which will have a Visual Studio Solution file for the UWP app.
3. Configure the Visual Studio solution
Configure the Visual Studio Solution as per the steps mentioned here. Check the section Running a React Native Windows App.
Once the solution is configured, run the Visual Studio project and it will open the typical React Native app running on Windows that is showing an error saying it needs to contact the dev server.
4. Run the React Native dev server
Run
react-native startfrom your project directory and wait for the React Native packager to report success.D:\Dev\ReactNative\UWP\HelloWorld>react-native start Scanning folders for symlinks in D:\Dev\ReactNative\UWP\HelloWorld\node_modules (32ms) Running Metro Bundler on port 8081. Keep Metro running while developing on any JS projects. Feel free to close this tab and run your own Metro instance if you prefer. https://github.com/facebook/react-native Looking for JS files in D:\Dev\ReactNative\UWP\HelloWorld Metro Bundler ready. Loading dependency graph, done. BUNDLE [windows, dev] ./index.js 100.0% (488/488), done.
4. Reload the UWP app
- Press
Ctrl + R(or click Reload button) in your running app. It will now display the new app!!
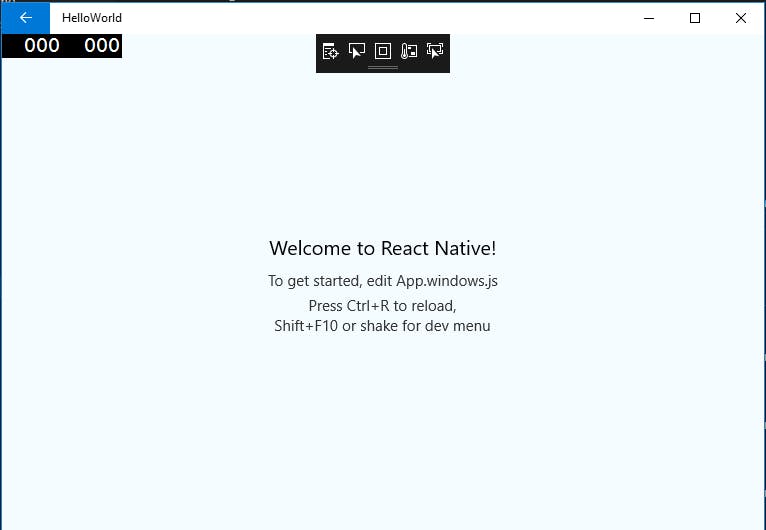
You can now modify App.windows.js file to develop your custom React Native app.