


ASP.Net Core provides several project templates out of the box, one of which is ASP.Net Core with Angular. You can use this to bootstrap your Angular SPA from within the .Net core application and host it within IIS. However, many prefer using Angular CLI to develop an Angular application due to its simplicity and power and as part of this post, I'll be focusing on hosting this in IIS. In case you are new to Angular, that's fine too as I'll be covering the basic steps required to create an Angular application.
We'll approach this in 4 steps
Install Node and Angular CLI
Create a simple Angular SPA (hello-world application)
Host this Angular application locally from the console
Host this Angular application in IIS
1. Install Node and Angular CLI
We'll first create a hello world Angular application. You'll need to have nodejs installed on your machine. Check if node is installed on your machine using
node --version
In case you don't have node installed on your machine, you may download the latest version from here. Install the LTS version preferably. At the time of writing this blog, the latest LTS version of Node was v8.10.0 The node installation also comes with a package manager called npm (Node Package Manager). We'll use this to install other 3rd party libraries.
We'll first install Angular CLI using npm.
npm install -g @angular/cli
This will install Angular CLI, to verify the same we can use ...
PS C:\dev\AngularInIIS> ng --version

Angular CLI: 1.7.3
Node: 8.10.0
OS: win32 x64
Angular:
...
PS C:\dev\AngularInIIS>
This will show the installed version of Angular CLI, Node and a few other libraries. We can now use this Angular CLI to create an Angular application.
2. Create a simple Angular SPA
We'll create a hello world application using Angular CLI. It will
Create a new Angular project
Generate some boilerplate code
Create deployable packages
ng new hello-world
This will create the new project and install the dependent packages using npm.
3. Host this Angular application locally from the console
Now that the basic application is ready we'll host the application from the console using ng serve...
PS C:\dev\AngularInIIS\hello-world> ng serve
** NG Live Development Server is listening on localhost:4200, open your browser on http://localhost:4200/ **
Date: 2018-03-18T16:03:02.250Z
Hash: a99bdded108353b66e5f
Time: 7041ms
chunk {inline} inline.bundle.js (inline) 3.85 kB [entry] [rendered]
chunk {main} main.bundle.js (main) 18 kB [initial] [rendered]
chunk {polyfills} polyfills.bundle.js (polyfills) 549 kB [initial] [rendered]
chunk {styles} styles.bundle.js (styles) 41.5 kB [initial] [rendered]
chunk {vendor} vendor.bundle.js (vendor) 7.42 MB [initial] [rendered]

webpack: Compiled successfully.
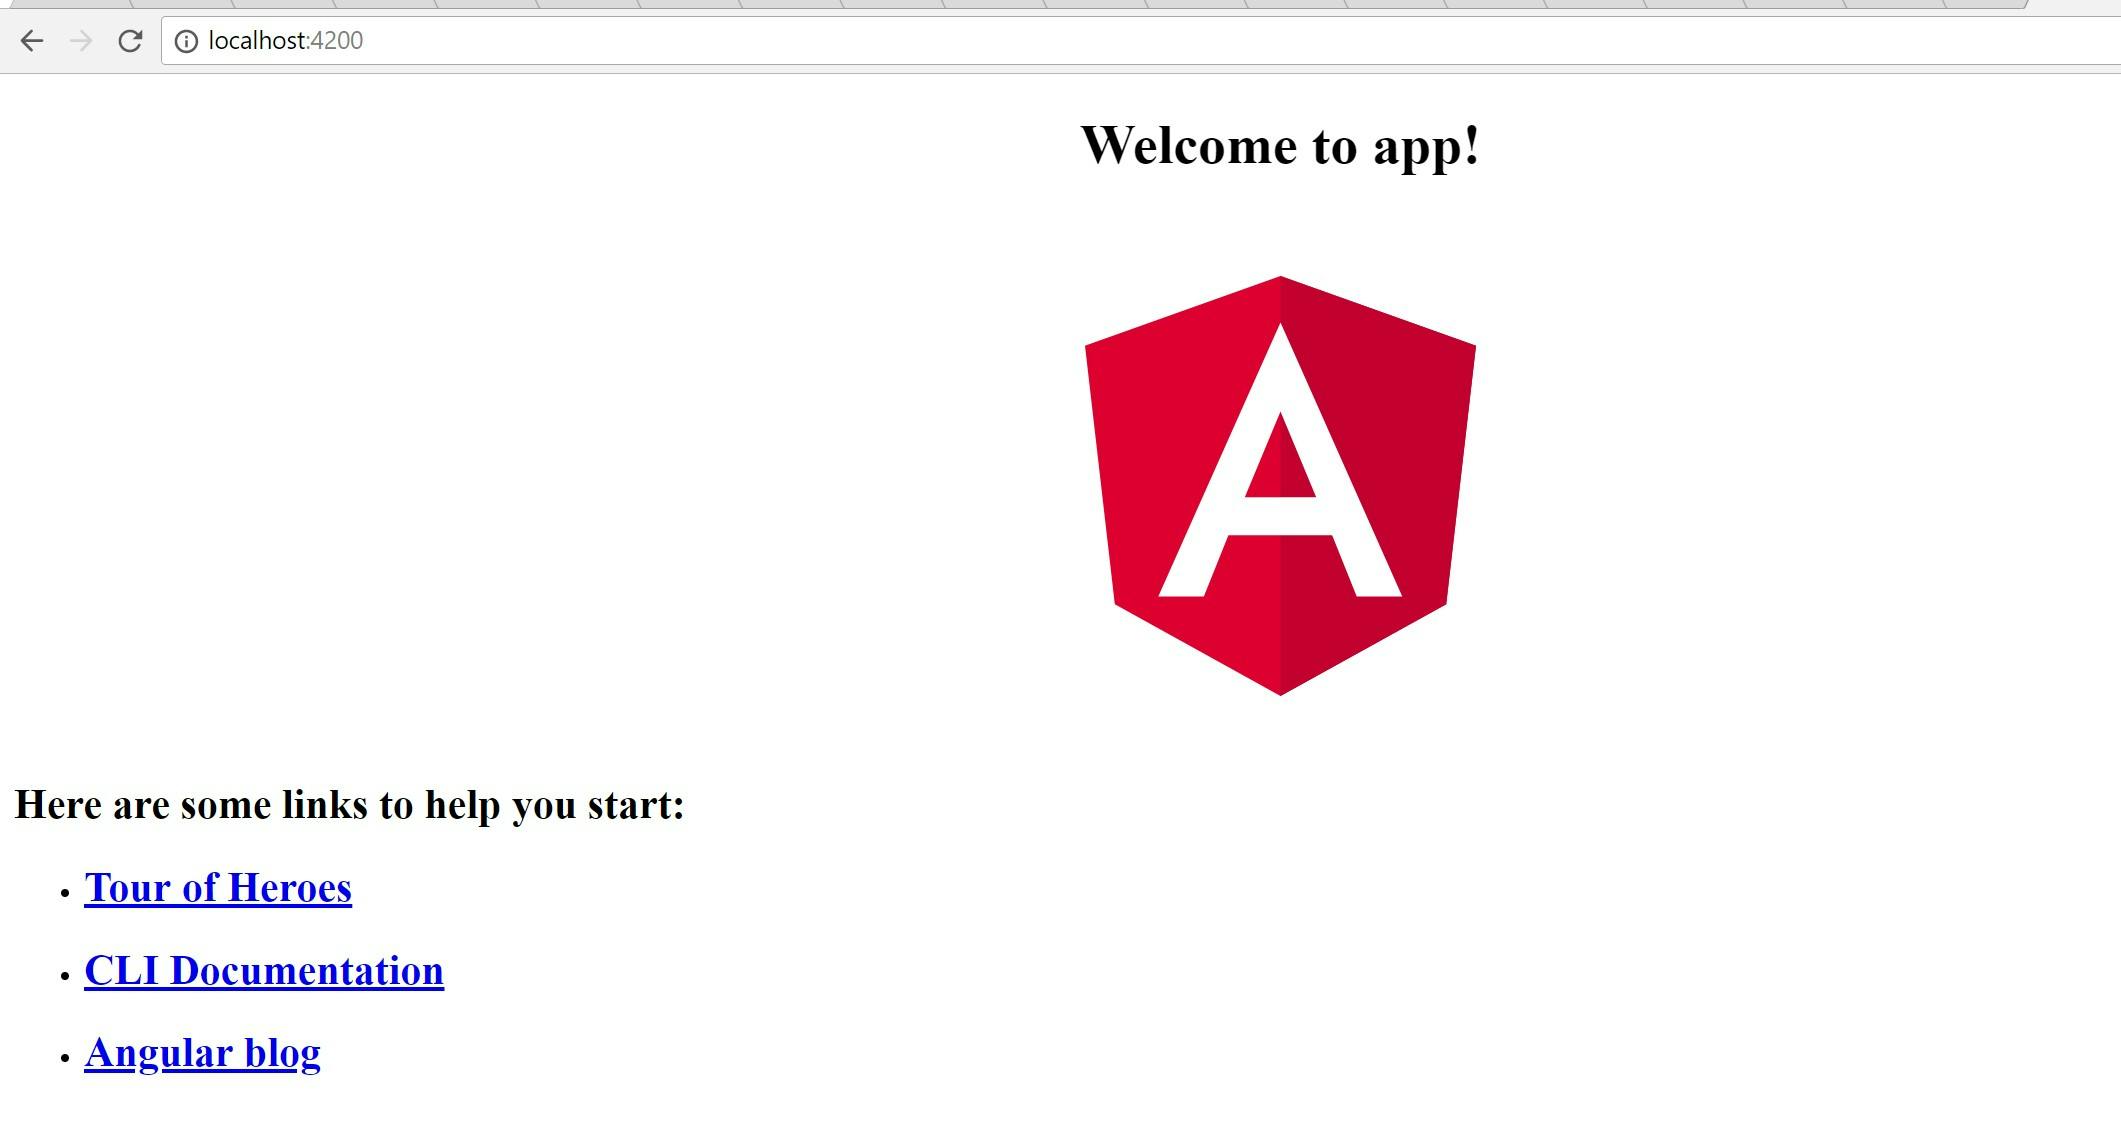
You can now open the browser and browse the URL http://localhost:4200/. You'll find the hello world page as follows ...
4. Host this Angular application in IIS
Hosting the Angular application in IIS will be done through the following steps...
Use Angular CLI to create a build artifact
Create a Web application in IIS
Install URL rewrite module in IIS
Add web.config with a URL rewrite rule
Use Angular CLI to create a production package
1. Use Angular CLI to create a build artifact
We can use Angular CLI to build the angular project and create a build artifact as follows ...
ng build
Once the build completes successfully it publishes all the build artifacts to the dist folder.
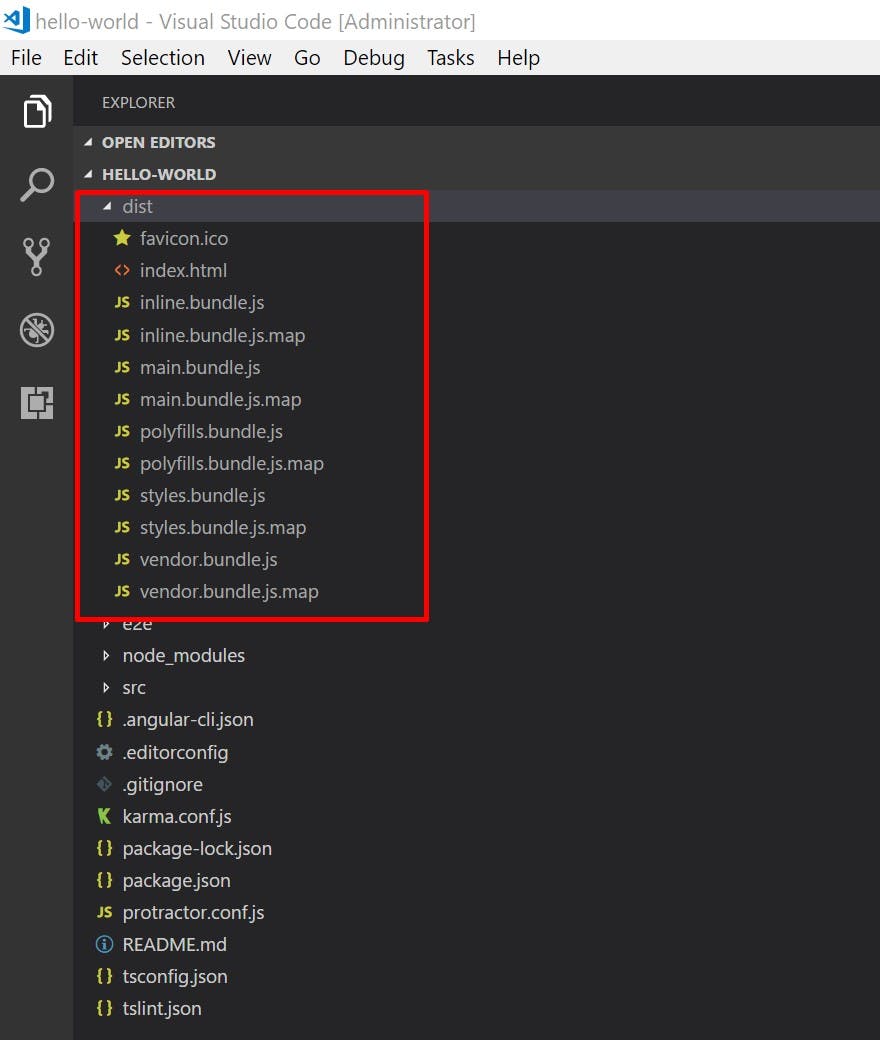
We'll be hosting the build artifacts from this folder in IIS in the subsequent steps.
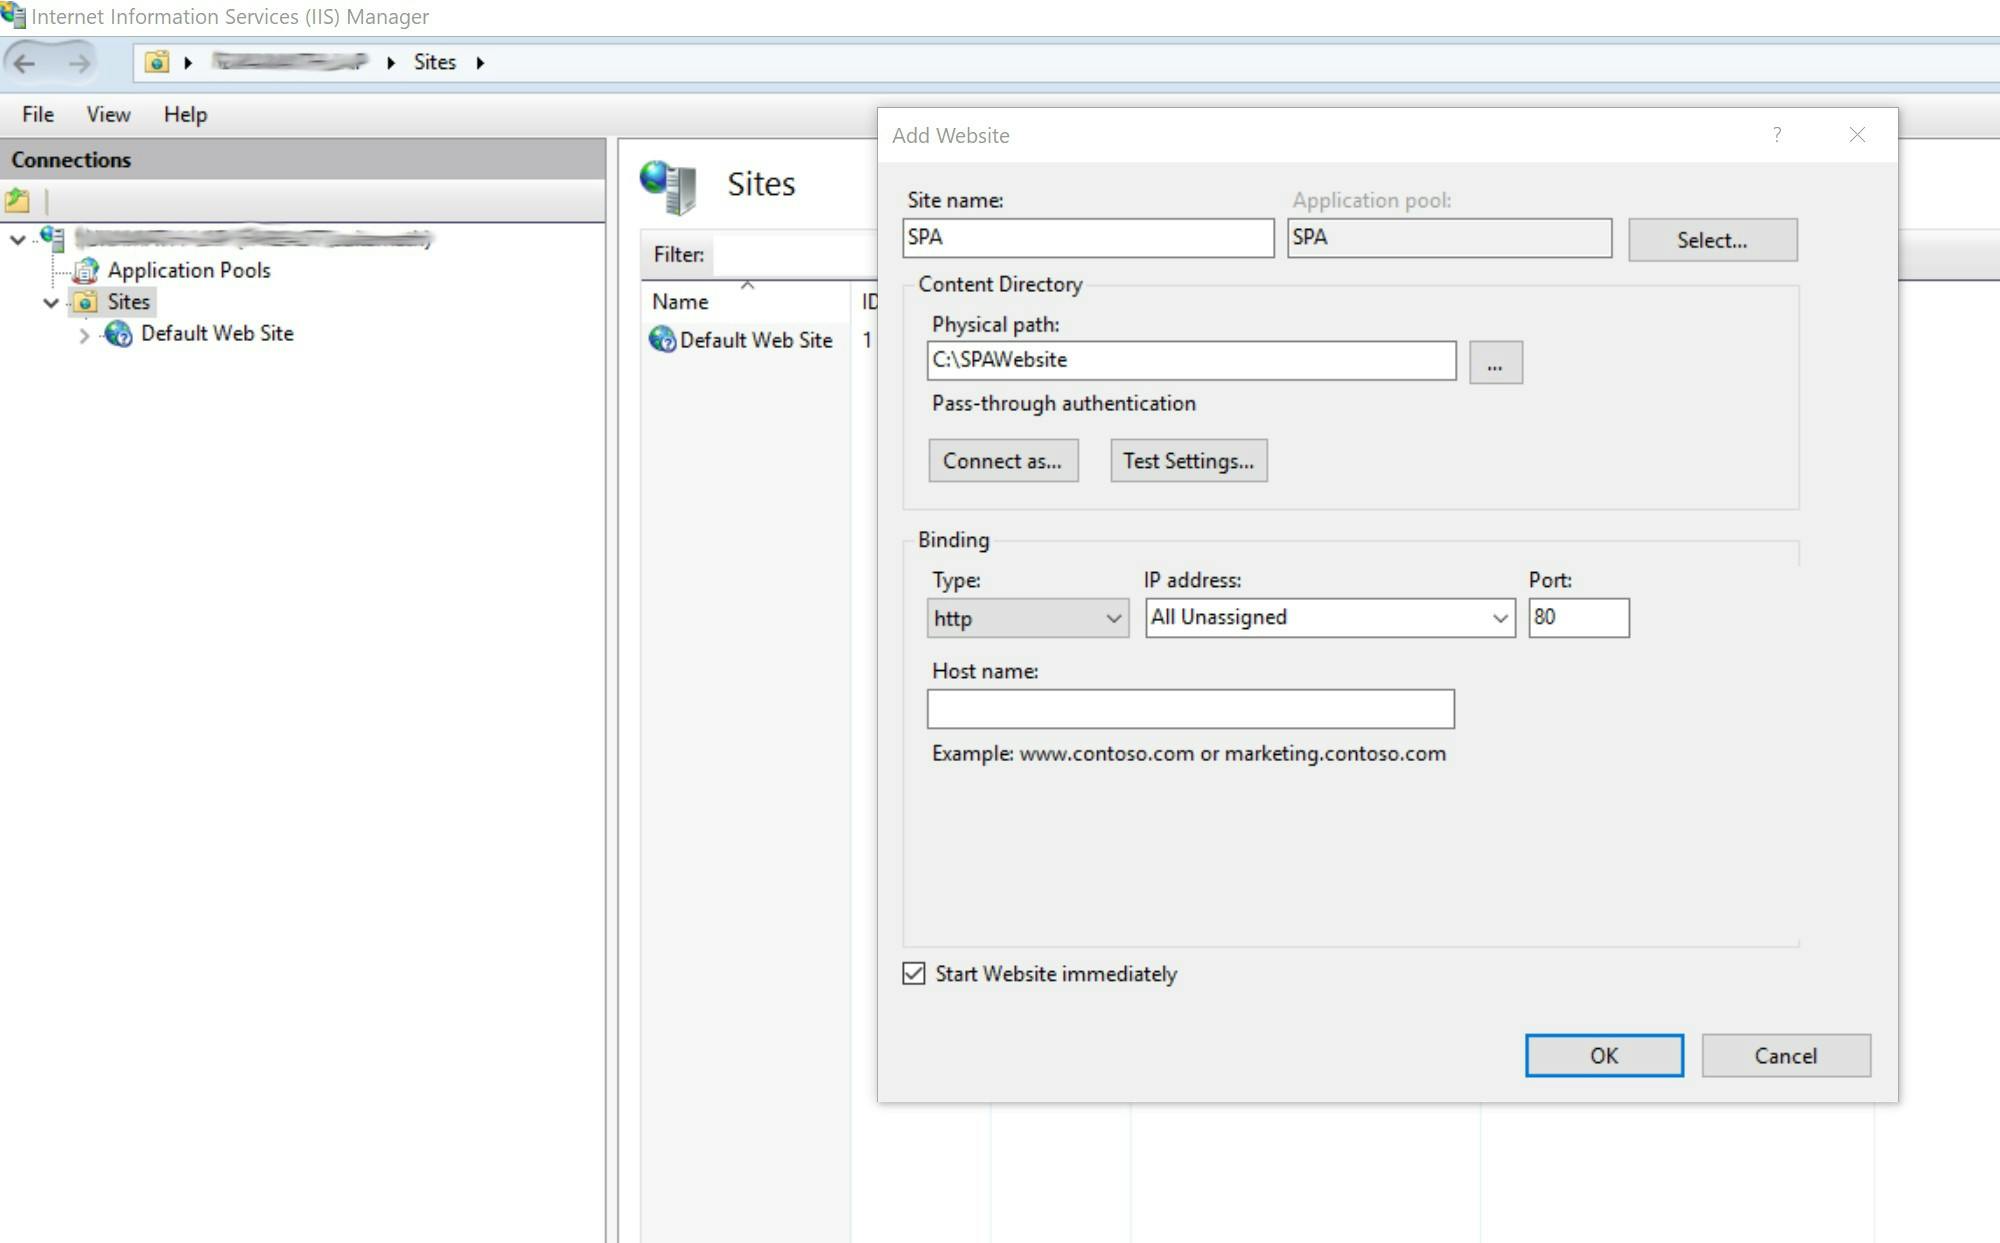
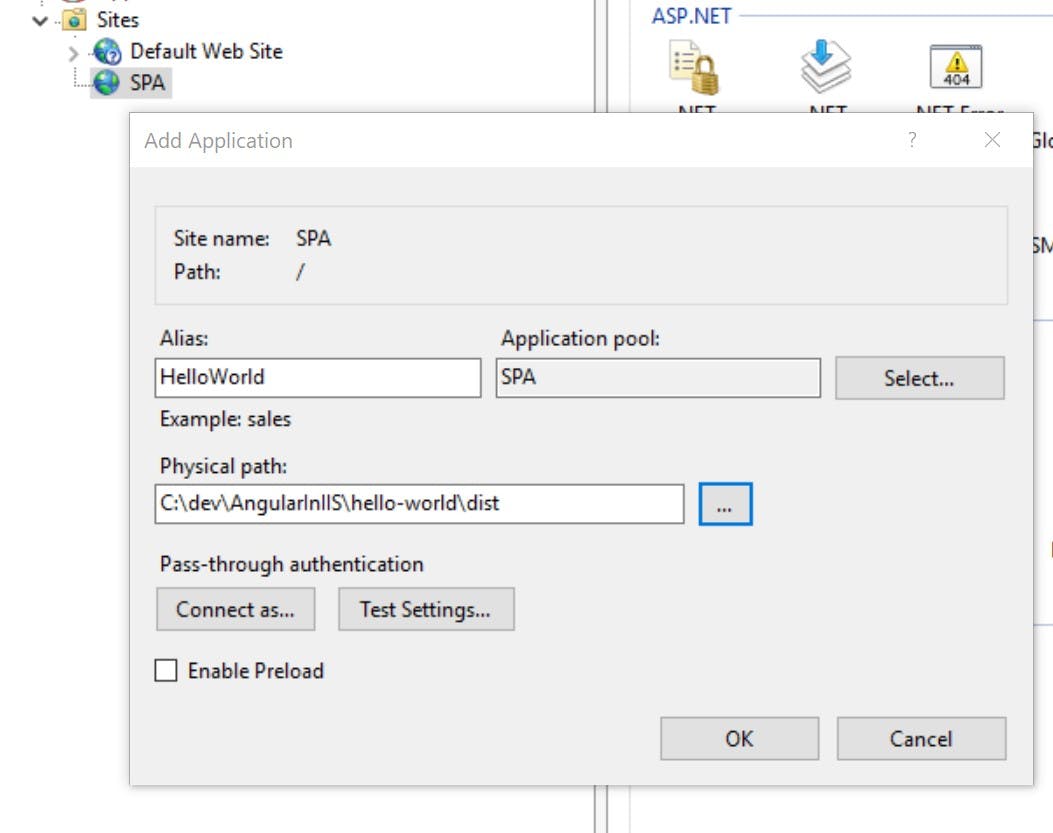
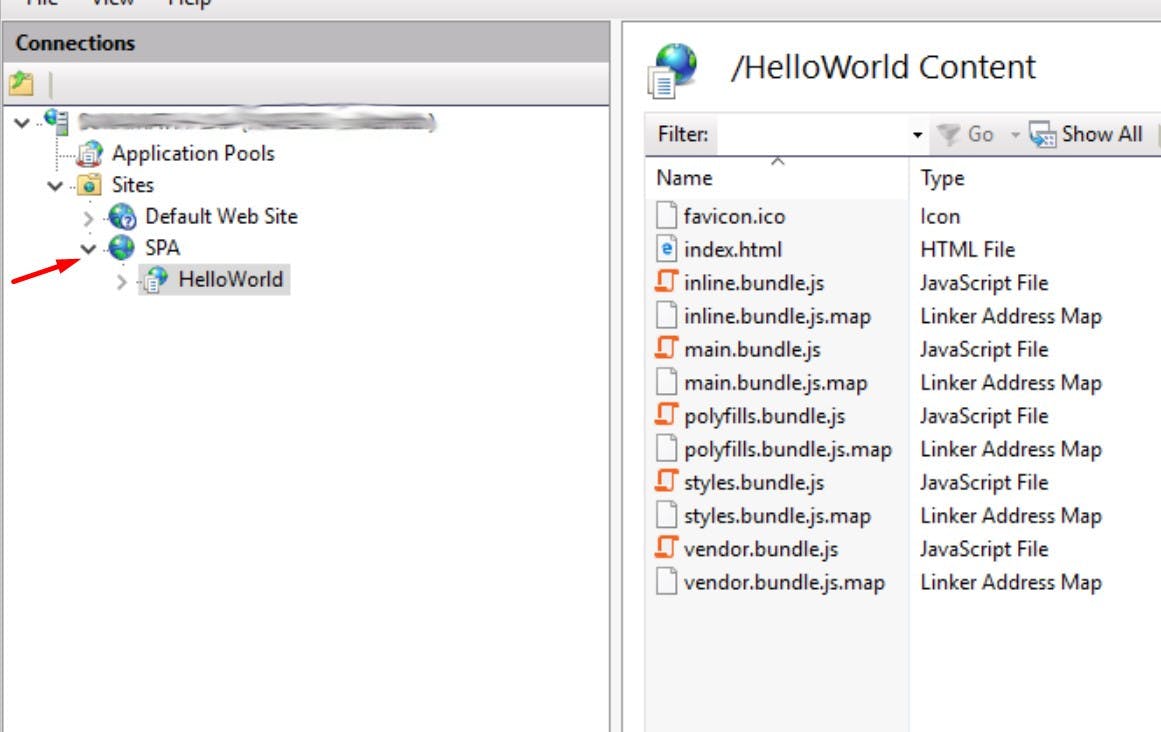
2. Create a Web application in IIS
Create a new website or web application or virtual directory in IIS to host the Angular application. Anyone of these will do. For the sake of this walkthrough, we'll create a new website SPA and create a new web application HelloWorld under it.
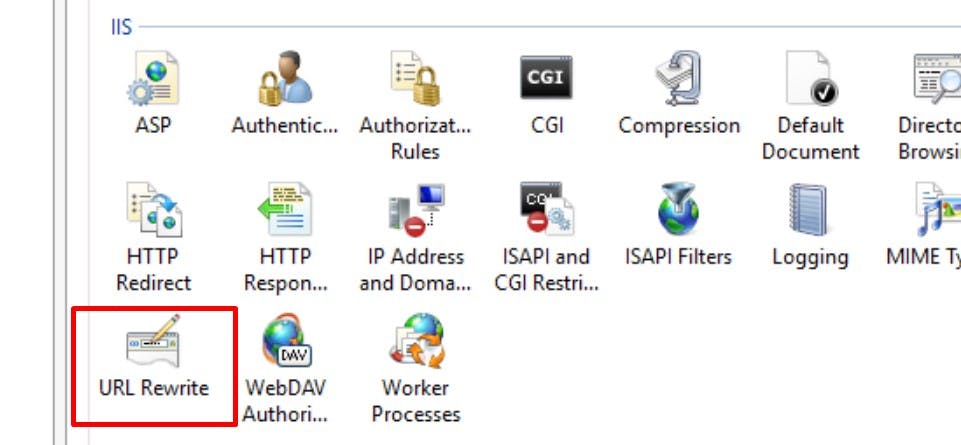
3. Install URL rewrite module in IIS
This step is required to support deep-linking. Deep-linking is the capability for the user to navigate directly to a page by typing the route into the address bar instead of using Angular routing. Deep-linking causes a problem for IIS because the URL that the user attempts to access is not known to the server and therefore the user receives a 404 response. The solution is for the server to always return the root of the application, even if the user requests a path within the application.
Install the URL rewrite module from this link - https://www.iis.net/downloads/microsoft/url-rewrite
After installing you should see a new icon in IIS Manager.
4. Add web.config with a URL rewrite rule
We'll now add a web.config file in which we'll have the URL rewrite rule. All requests to this web application that are not for files or folders should be redirected to the root of the application. For a web application or virtual directory under the default website, the URL should be set to the alias, (e.g. /MyApp/). For a website at the root of the server, the URL should be set to /.
In our case since we are using the web application HelloWorld we'll set the URL /HelloWorld/
<configuration>
<system.webServer>
  <rewrite>
    <rules>
      <rule name="Redirect all requests" stopProcessing="true">
        <match url=".*" />
        <conditions logicalGrouping="MatchAll">
            <add input="{REQUEST_FILENAME}" matchType="IsFile" negate="true" />
            <add input="{REQUEST_FILENAME}" matchType="IsDirectory" negate="true" />
        </conditions>
        <action type="Rewrite" url="/HelloWorld/" />
        <!--<action type="Rewrite" url="/" />-->
        </rule>
    </rules>
  </rewrite>
</system.webServer>
</configuration>
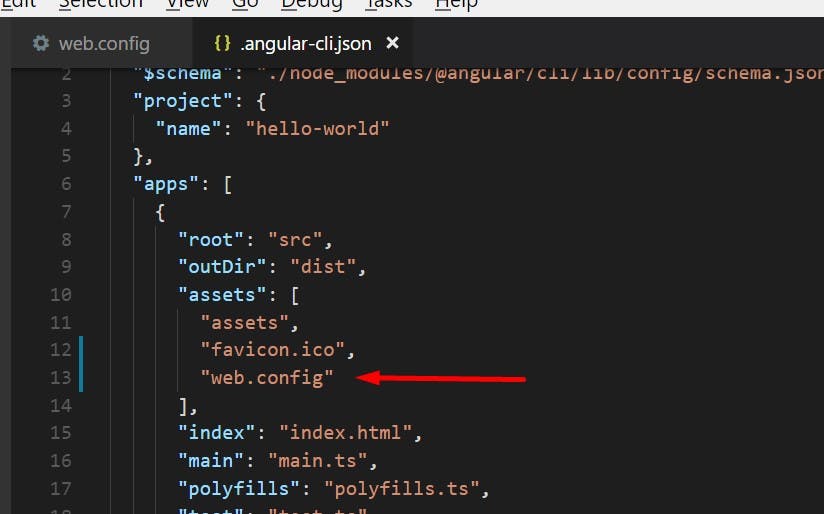
We'll create this web.config in the src folder and to ensure that this file gets copied to the dist folder each time a build is generated we'll also make an entry in the assets section in angular-cli.json.
We can now build the angular project and verify that the web.config file is indeed published in the dist folder. Once confirmed, there is one more step pending. We need to ensure that the base href value in index.html has the value / if we host the application directly on the website or /MyApp/ if it is hosted in the web application under the website. In our case, this value should be /HelloWorld/
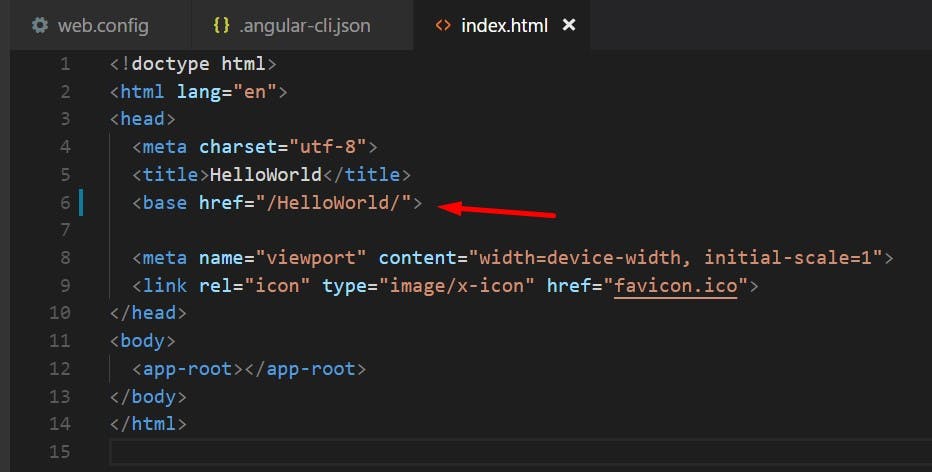
We can update the above manually, or during the creation of the build using the parameter --base-href
ng build --base-href "/HelloWorld/"
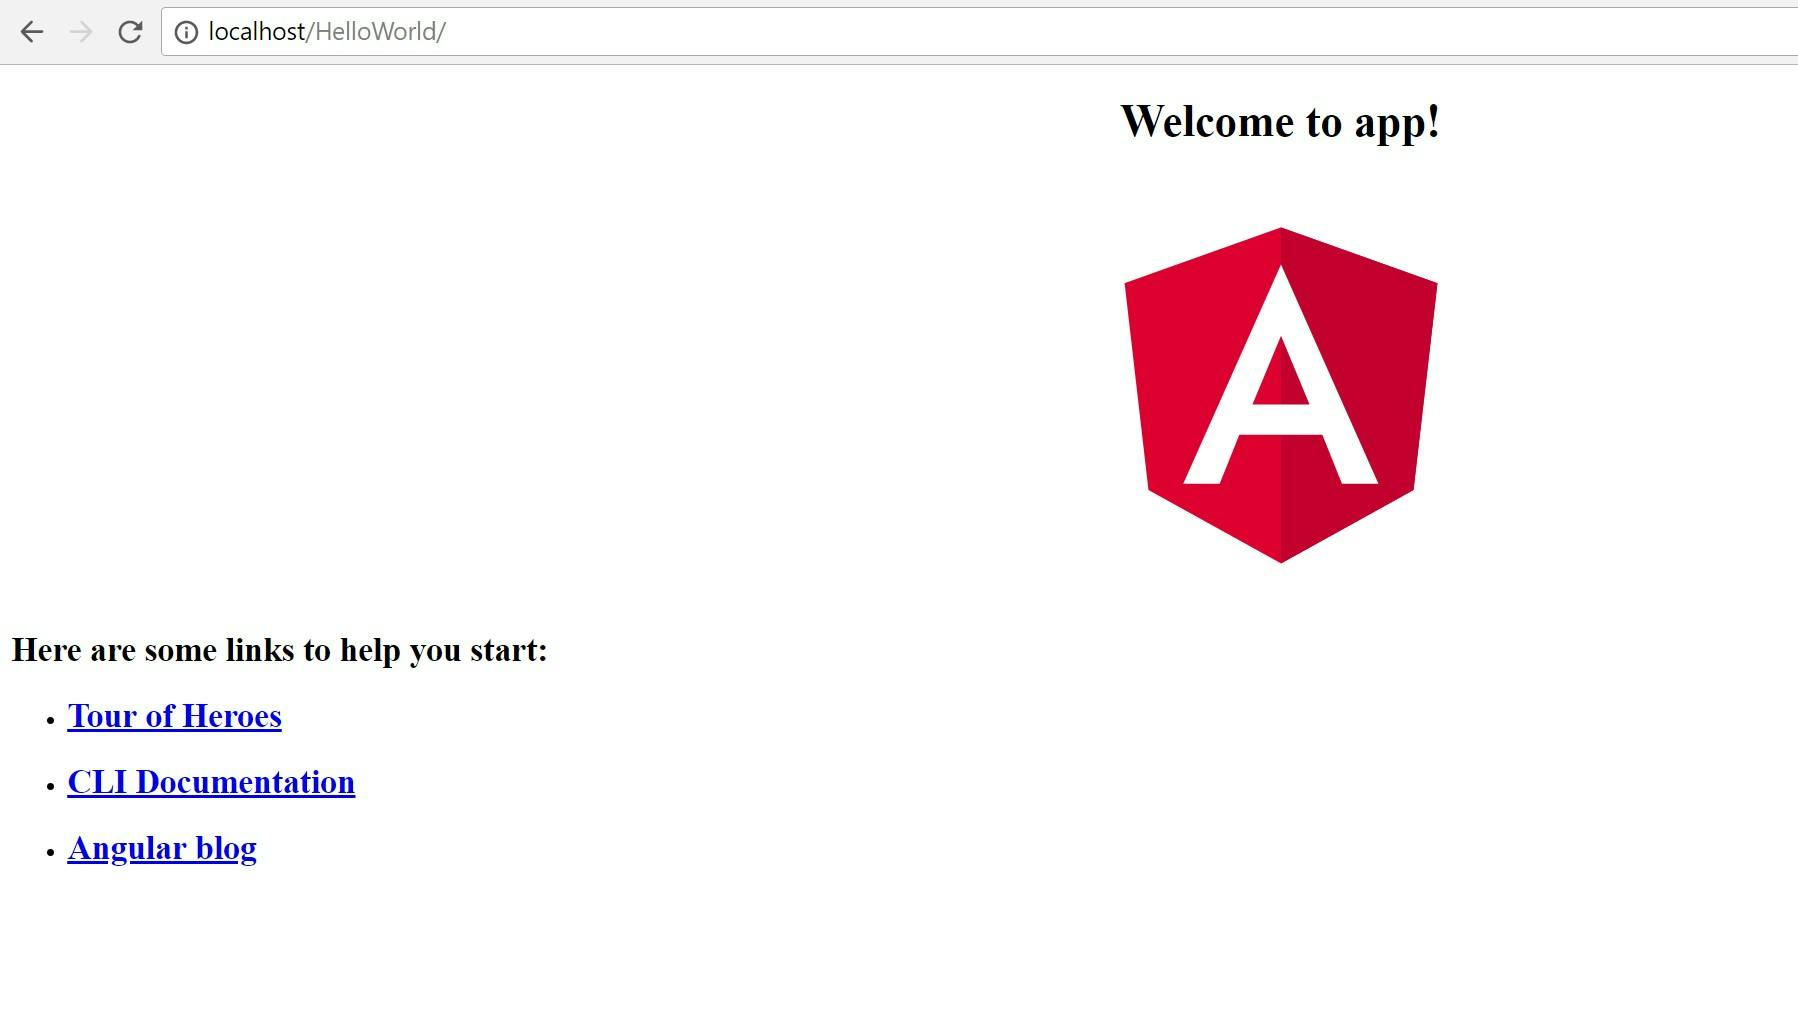
With this, we can now browse the URL http://localhost/HelloWorld/ from the browser. This should load our hello world page.
Hope this was useful!